Flash Gluon using Windows 10
Your router can be flashed in a few easy step from Windows 10.
Preperation
First you need to download the image for your device from your local Freifunk community. This is important to do right now as you will have no ability to do so later on.
Download Python 3 for Windows
Download and install the latest version of Python 3. It can be obtained from the website of the Python project.
Download the flash-script
Download the latest version of the flash-script fritzflash.py at the link below. In case you are prompted whether you want to save or open this file, select save.
Disable WiFi
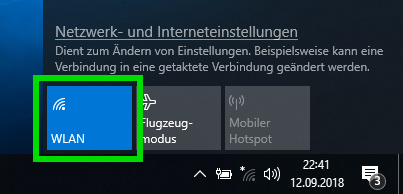
In case your computer is connected via WiFi, make sure to disable this connection by opening the Quick-settings in the lower right corner. Make sure WiFi is disabled there.
Configuring a static IP-address
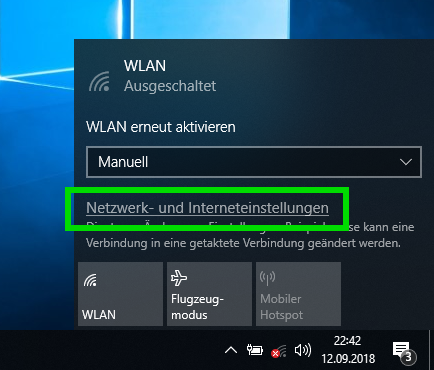
Open the network settings by opening Quick-settings and navigate to the Network and Sharing Center.
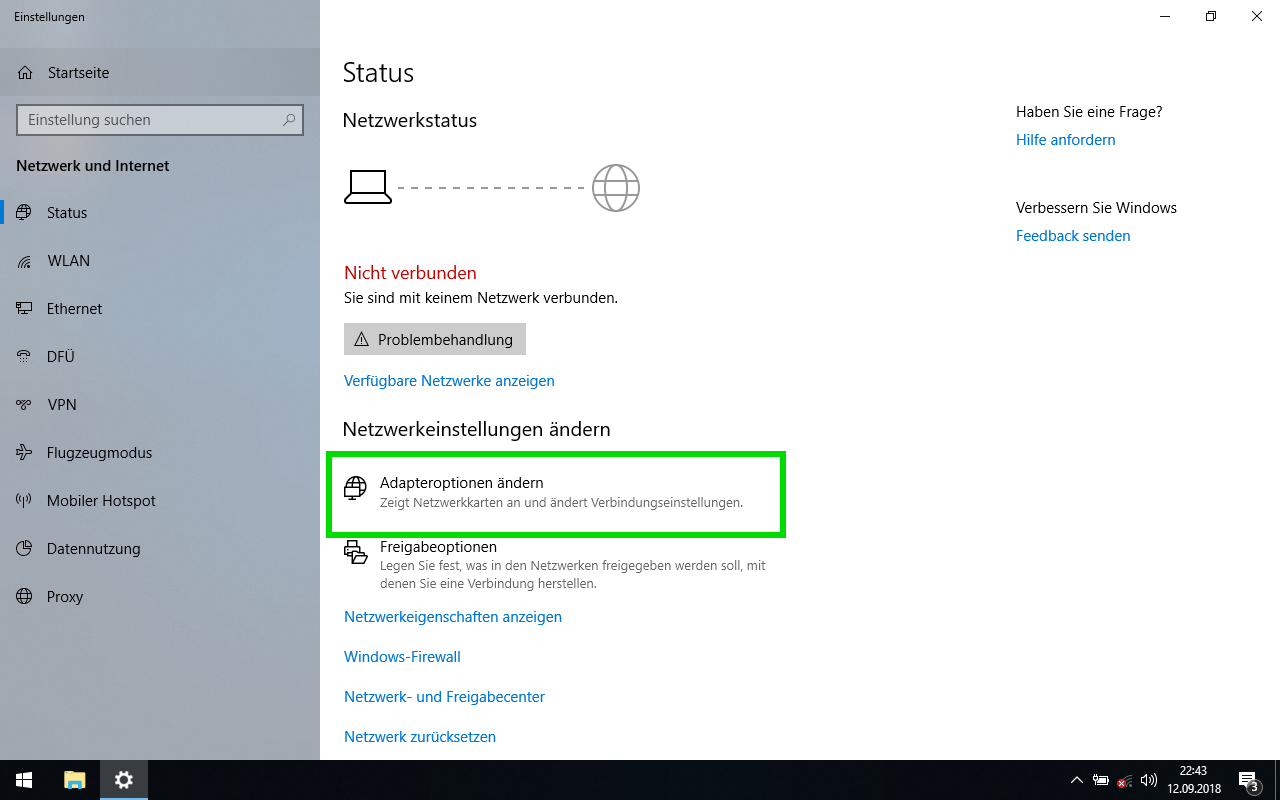
Go to the Network Adapter Settings.
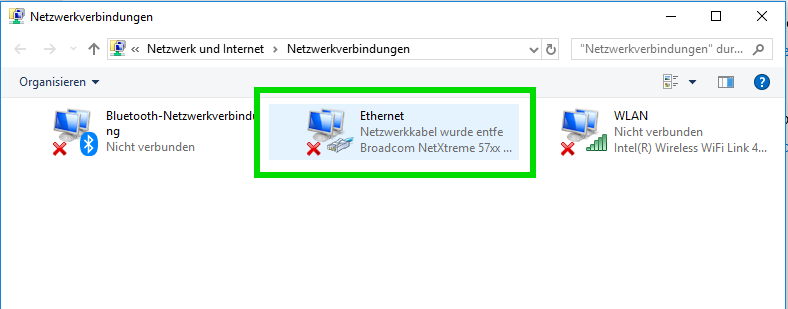
Select the adapter called Ethernet.
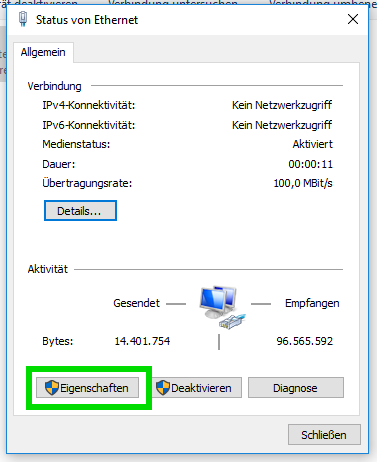
In the adapter-status window, select properties.
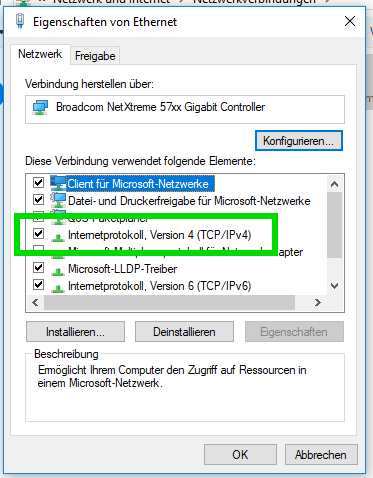
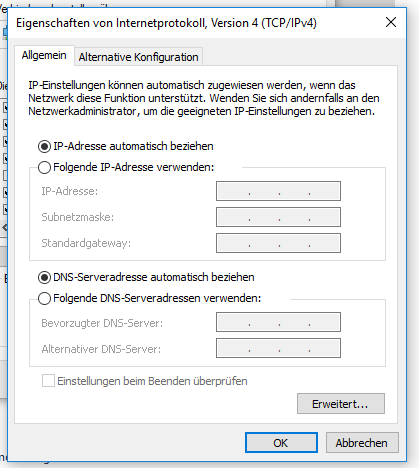
Double-click on Internet Protocol Version 4.
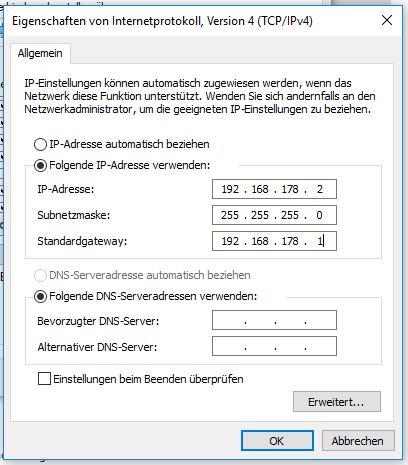
Fill out all fields as seen on the image below. Close afterwards both windows by clicking OK.
Install Gluon
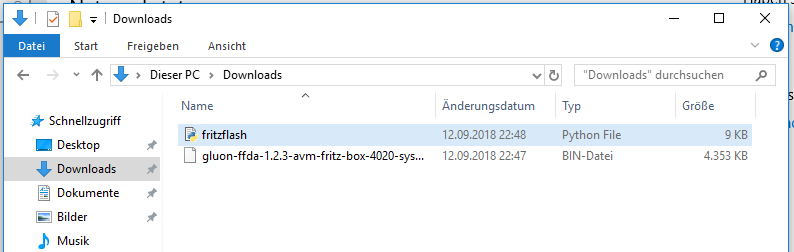
Now move both fritzflash.py and the Gluon image in an empty directory.
Note
It is important both files are located in the same directory. Otherwise the process won’t work.
Connect the router with your computer. In case it has multiple ports, use the yellow LAN-ports.
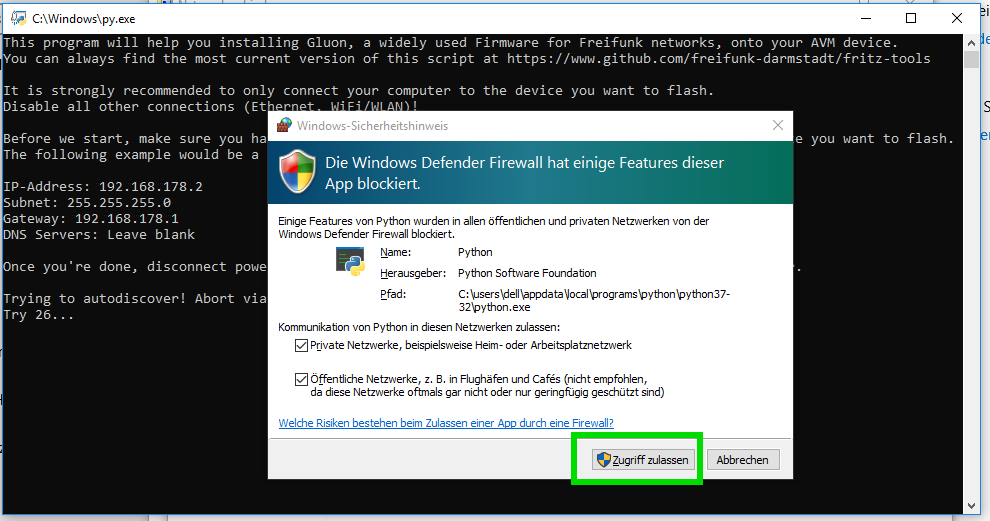
Execute the flash-script by double-clicking on fritzflash.py.
In case Windows Firewall asks you whether you want to allow or deny network activity, select Allow.
Revert network settings
Before you are able to reach the Config-mode of your new node you have to reconfigure your network interface to automatically obtain an IP-address using DHCP.
Configure your network interface interface as pictured on the screenshot below and confirm by selecting OK in both windows.
Also remember to turn on your WiFi again.